
Hi, ADLEADPRO here! We’ve noticed that many accounts’ shops don’t have BMs for sale anymore. What’s more, Facebook is acting out, so that no Fan Pages can help you here. This might be a great time to breathe out and prepare yourself for future traffic. And in this article we’ll tell you what you can do – obviously, farm more BMs (which makes sense: several BMs are way better than just one).
Bought an account and there is no BM?
For many people it can be obvious, but since there are more people joining the media buying market, let’s talk a bit more about this.
So, you have an account now. Where do you look for a BM?
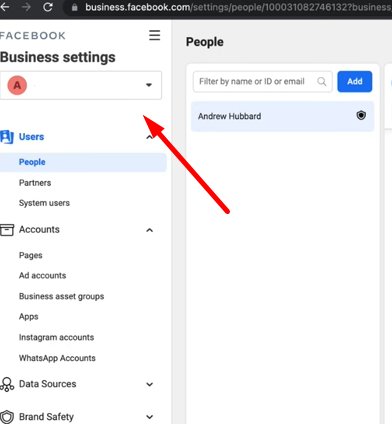
- Go to the main page of your account (where you have your feed). On the left find ‘Ads manager’. Choose it.
- Now you can see an icon with three lines. Click on it.
- In the new form choose ‘Company settings’.
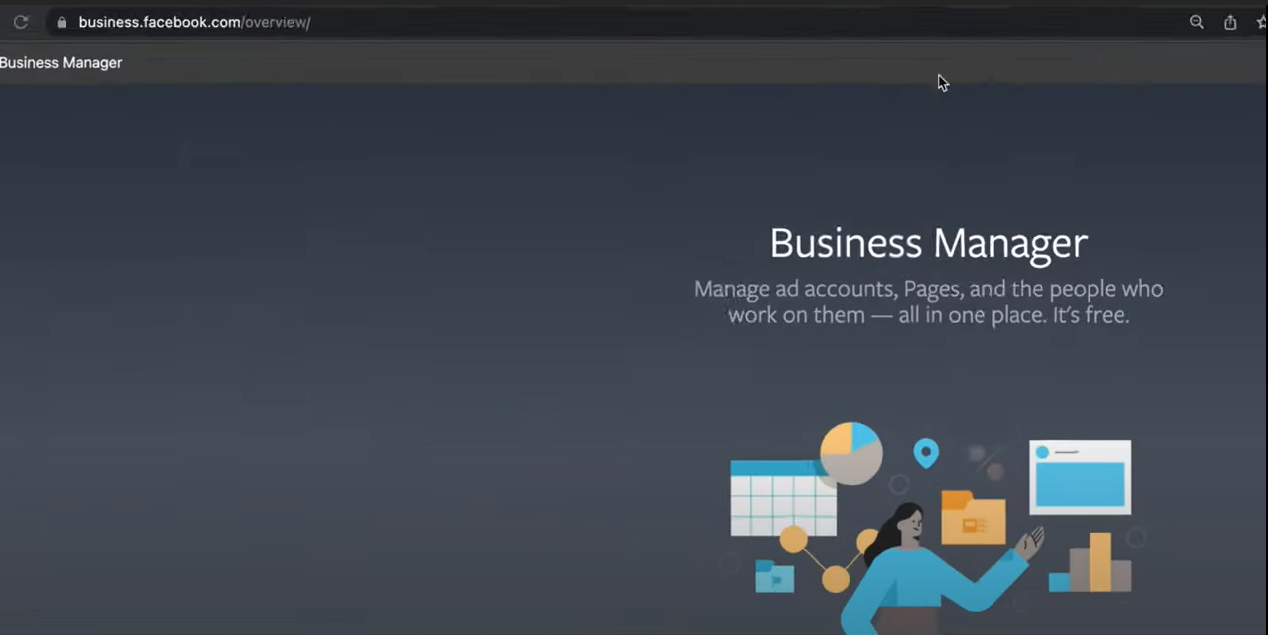
If the account has a BM, you’ll see it. But if you’re sure that you don’t have one, you can skip this step and follow this link: https://business.facebook.com/overview (if there’s a FanPage that has been created before). Then:
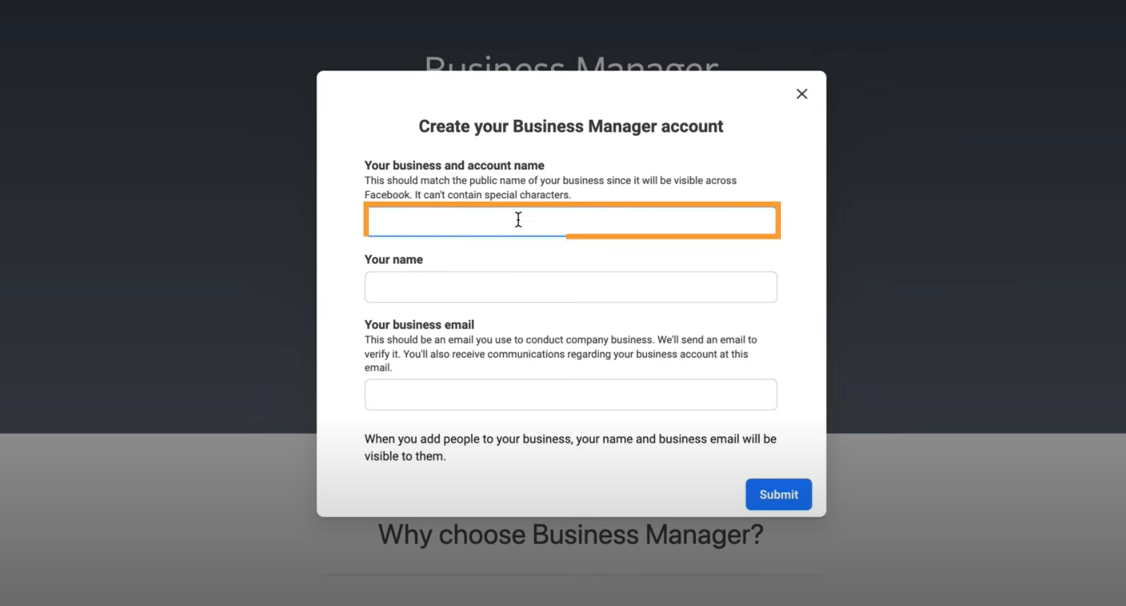
- Click on ‘Create Account’.
- Fill in the form. You can use the email from the file with your farmed account. The name of the company can be anything.
- Then you need to confirm your email address. Go to your email, find the letter and confirm.
And now we can see that we have a BM now in our menu.
Here we have the ‘ideal tutorial’ where everything goes as planned. If it were that simple, then sellers wouldn’t list existing BMs when selling accounts. You’re more likely to come across this error. So this is what we’ll be discussing next.
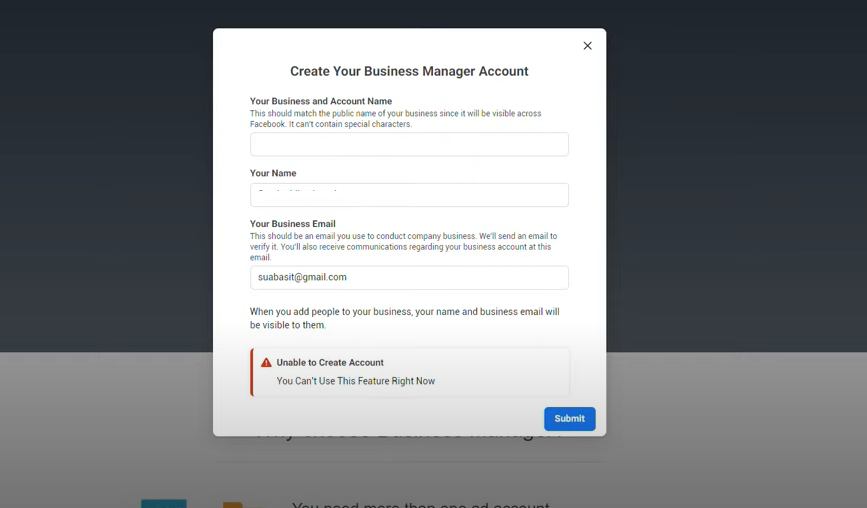
How can I fix the error with creating a BM account?
This solution has been around for some time now, which just proves it works. Probably, not 100% foolproof. But the better the farmed account is, the higher are the chances.
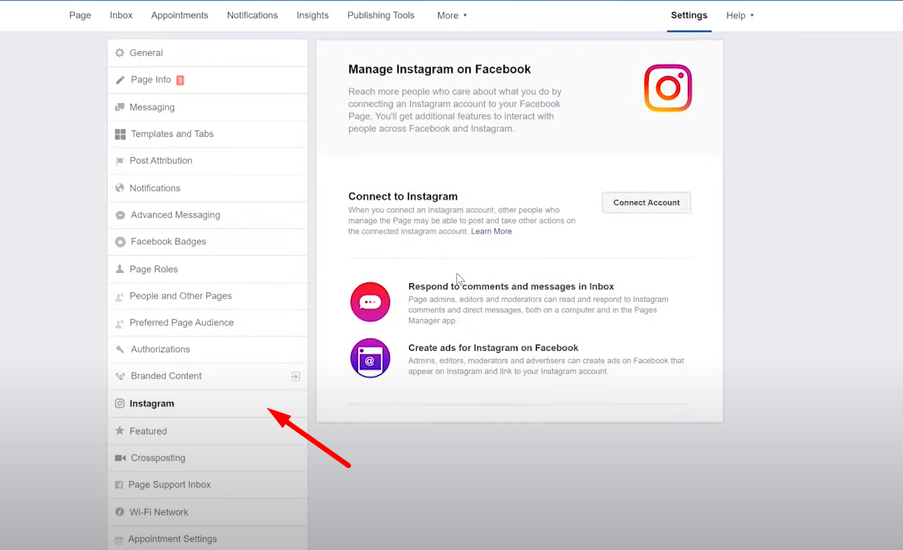
- Go to the FanPage.
- Page settings.
- Find ‘Instagram’ and click on ‘Connect to Instagram’.
- Now we see a new window that has Instagram’s login page. You can click on ‘Log in with Facebook’.
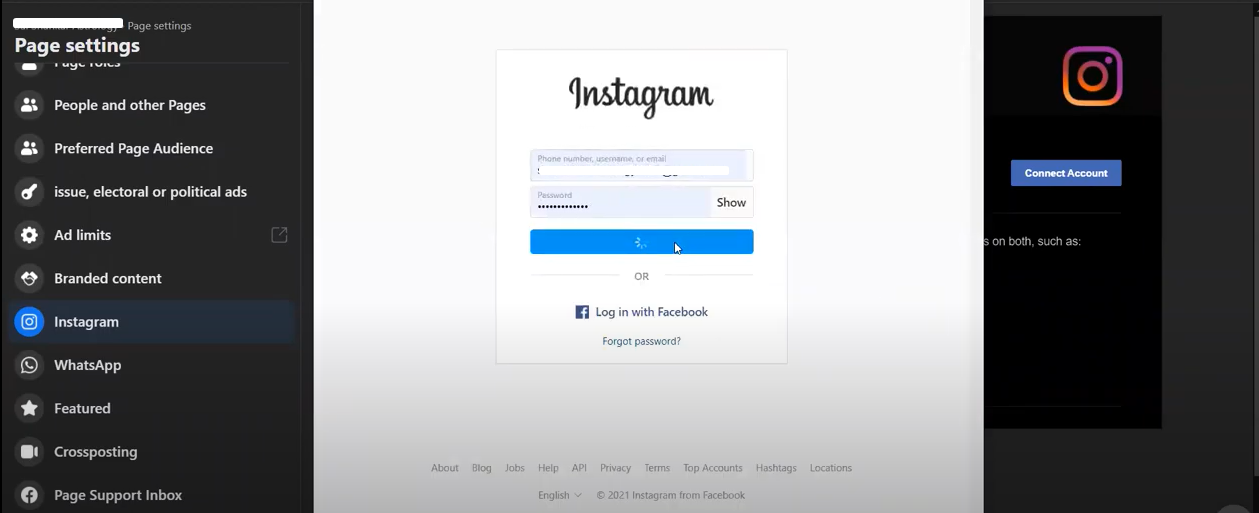
- Click on ‘Continue as *account name*’. Instagram will then show your photo and name of account. You will need to think of a login and a password and click on ‘Register’.
After that we don’t click on anything. We wait for 15 seconds until we see a new window with ‘Business account’ – set up the company’s account. They tell you to add your telephone number, email address and geoposition so that clients know how to contact you.
Click on ‘Continue’, then on another ‘Continue until Facebook opens an additional window for signing in on Instagram. Log in there. After this you might see a new error saying that the feature is not available at the moment. Don’t panic and close the window.
Open Instagram in another tab (don’t forget that the session in the anti-detect browser should remain the same). Log into our newly created account. Close all system notifications, go to the profile settings and click on ‘Switch to professional account’.
Now you can change the settings the way you like it. Click on ‘Submit’ and… well, that depends on how lucky you are. You can create it on the first try or the third. If you see another error, go to the IG profile settings and press again on ‘Switch to professional account’. Keep repeating it until it’s switched.
That’s not it, though. Go back to Facebook and refresh the page. You can see this.
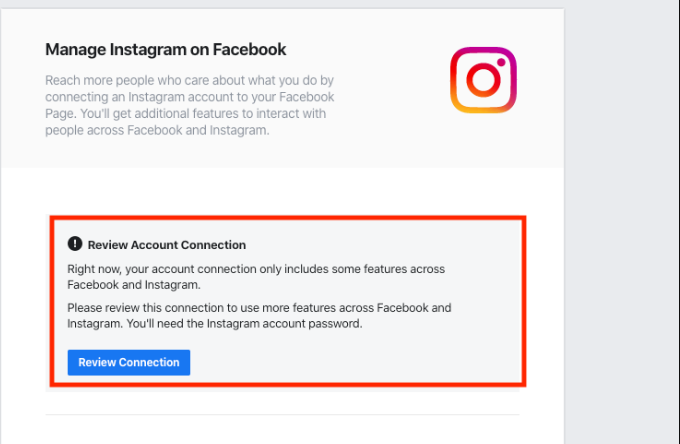
Click on ‘Review Connection’. Follow the steps to complete the process. You will need to login to Instagram again and then wait. If the connection was confirmed, the window with ‘Review connection’ will disappear.
To check how it works, go again to Ads manager, click on the icon with three lines and then ‘Company settings’. There we should find our Business Manager.
How do you turn a BM with a $50 limit to $250?
This is a tutorial we’ve found around the web, but we couldn’t find the author (if you’re the author, let us know). But we decided to add it to this article to add more value.
Here is the idea:
- Register your account on the following GEOs: Austria, Belgium, Cyprus, France, Finland, Germany, Greece, Ireland, Italy, Luxembourg, Malta, Monaco, the Netherlands, Portugal, Slovakia, Slovenia, Spain, Great Britain and the US. Phone number and proxy should be in the registered GEO.
- Add the account in the anti-detect browser with user agent Android.
Then create a profile in the anti-detect with PC settings (we take the proxy from our mobile session). Log into the account, go to developers.facebook.com and create an App, Then save the ID of the app (we’ll add it to the BM).
Create a FanPage and make sure to complete the whole form. Then download WhatsApp Business and through a virtual phone number create an account. This is the number that you will add on your FanPage in WhatsApp settings.
Now go to your email and confirm the connection. We’ll be redirected straight to the BM. In BM add our App ID:
Leave this BM for an hour or two. Then go to the checker (you can use this Russian one – https://cpa.rip/check-bm/) and check. The limit should be at $250.
That’s it for now. Let us know what other life hacks you have in the comments below.
Find us here:
Website: adleadpro.com
Facebook: ADLEADPRO’s Tips&Guides
Instagram: ADLEADPRO (@adleadpro) • Instagram photos and videos
Telegram: Support ADLEADPRO
Skype: Join conversation
Telegram channel: ADLEADPRO – Add Leads like a PRO

Blog of the ADLEAD affiliate program.
![Making 62% ROI with Aliexpress Affiliate Program [Case Study]](https://affsecret.com/wp-content/uploads/2022/10/2BiYDW5VePklDZutFdLtomL3HycUq7eRcB9UviEu-380x240.png)


Great article! That is the type of information that are supposed to be shared across the net.
Shame on Google for no longer positioning this publish higher!
Come on over and visit my web site . Thanks =)